

Brightest Yellow Ever
This all started after I checked out Make Ink: A Forager’s Guide to Natural Inkmaking from the library. It’s full of ink recipes and ideas, but Jason Logan’s stories about his experiments and wild ingredient searching interested me just as much. Maybe more so. I wanted to throw on a backpack and go wandering.
As yellow is my favorite color and since I had a brand new jar of turmeric already in the kitchen, the turmeric alcohol ink recipe excited me the most and seemed the easiest to start with.
I’ve already been using the ink in a few collages (keep scrolling). The yellow’s intensity is so striking that I don’t even mind when it stains my hands. Hint: it’s every time.
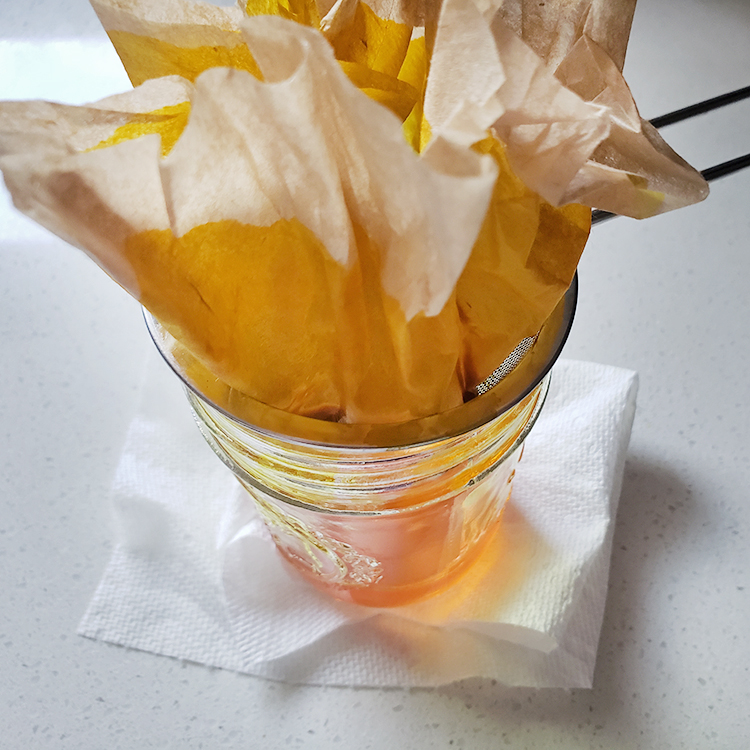
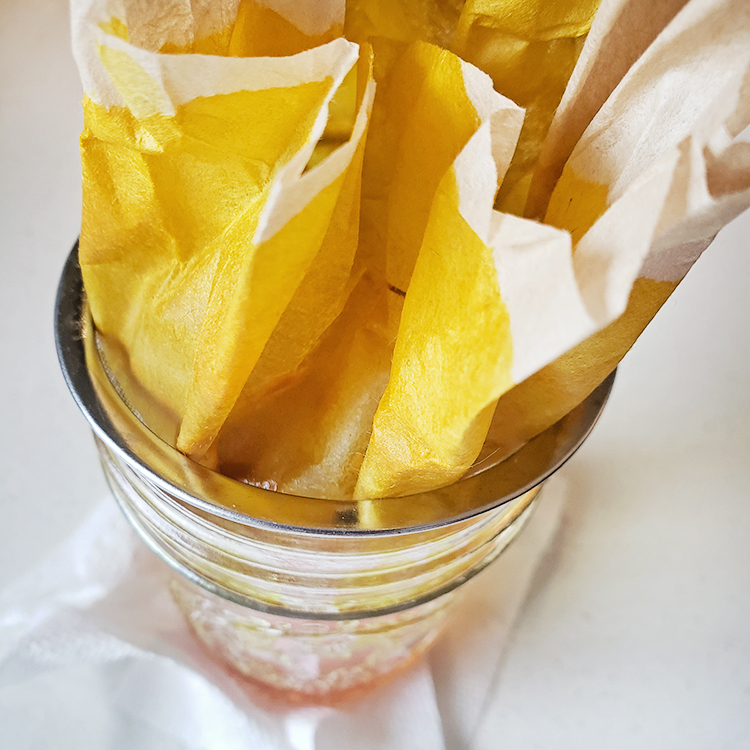
Filtering the ink into its jar:
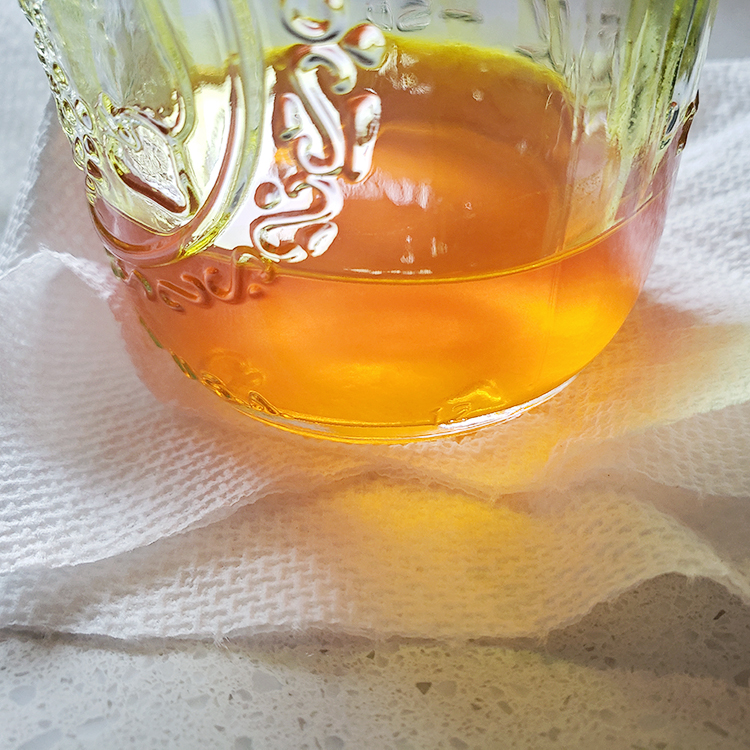
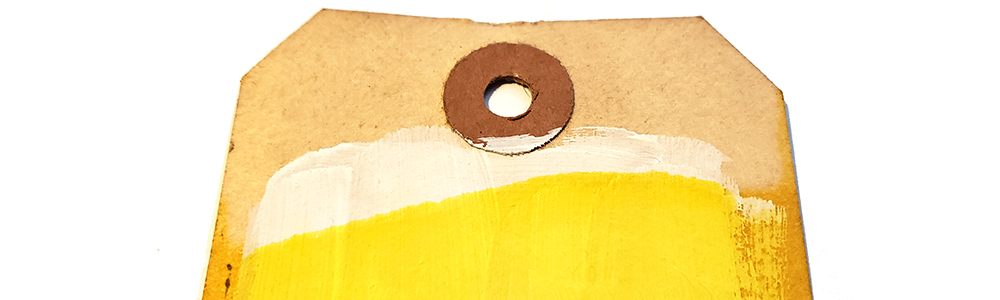
Sooo yellooow.
Below is the turmeric alcohol ink recipe and instructions from Make Ink (I didn’t make a full batch). You can also find the recipe and more about the book on the Jackson Art blog.
- 3 tablespoon turmeric powder, or 2–3-inch (5–7.5-cm) roots, peeled and grated
- 1 3⁄4 cup (400 ml) isopropyl alcohol, 90 percent or higher
- Glass container with a tight-fitting lid
- Spoon or stir stick
- Coffee filter
- Funnel
- Large bowl or tall bottle
- Add the turmeric and alcohol to the glass container and stir. Cover with the lid.
- Let the mixture sit overnight, then shake vigorously.
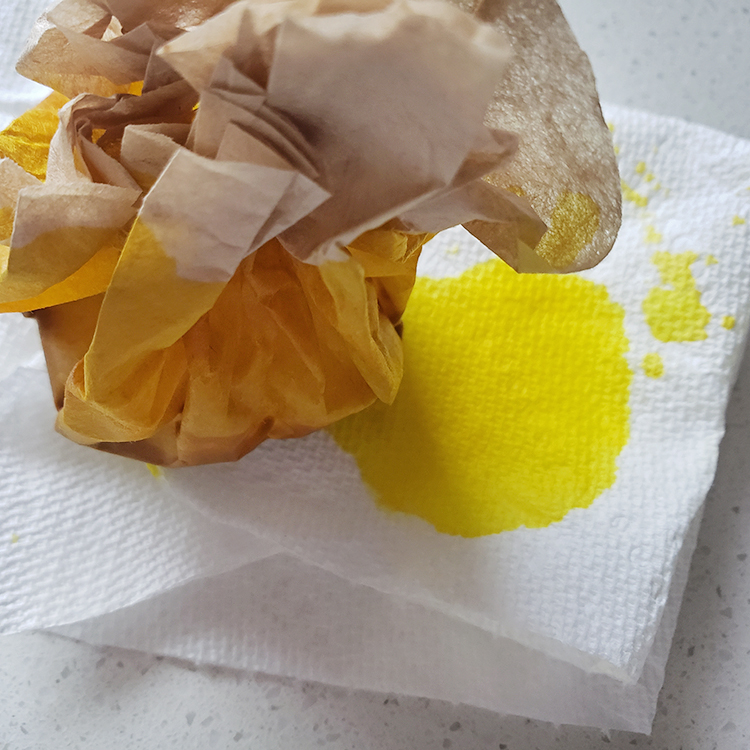
- Pour the liquid through a coffee filter over a large bowl, or alternatively, through a coffee filter–lined funnel into a tall bottle. Then, pour back into the glass container. This ink will keep pretty much forever due to the alcohol content. It does stain, so be careful in making and using.
My first experiment using the ink was on a few grungy tags found in my dad’s basement. The first layer is a loose rectangle of gesso painted in the middle of the tags. On top are swipes and “stamps” of the bright yellow turmeric ink. From there I added a few rough squiggles and circles with my new favorite drawing tool (wax pencil) then stamped on a little acrylic paint using a square of corrugated cardboard.
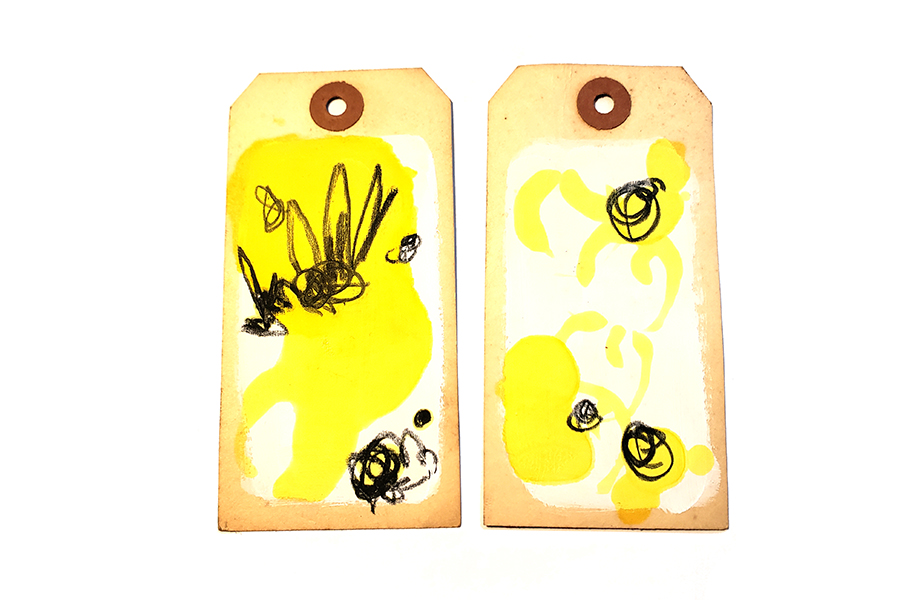
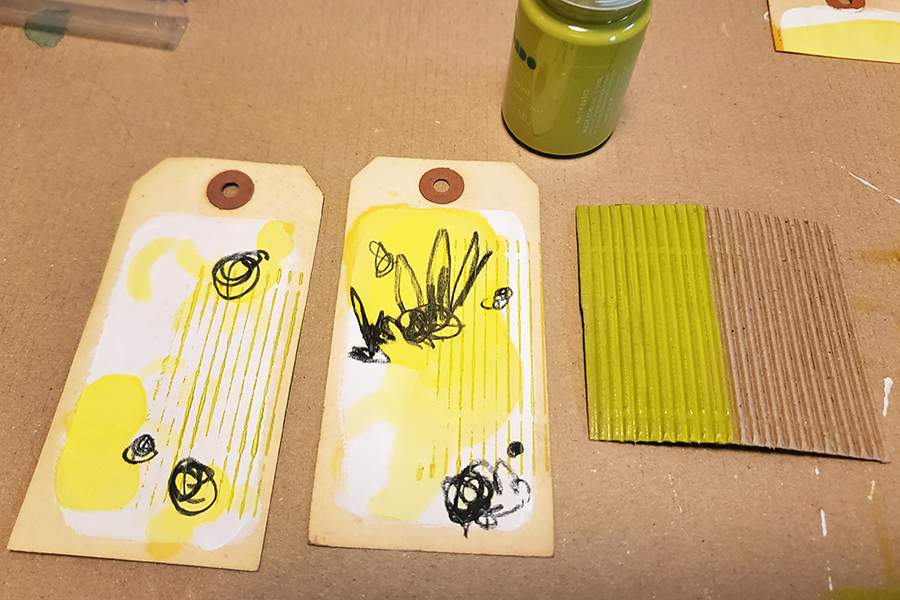
Layers, layers, layers.
Collaging was next – a mix of paper, stickers, hole-punching, and magazine + packing tape image transfers (I found a super easy how-to). I’m newly hooked on tape transfers (since you only need magazine images, clear packing tape, and water to do it) and I love how imperfect they turn out. Although I’m sure the images would be less imperfect if I wasn’t so impatient – I tend to take them out of the water too soon. Good thing I like the look.
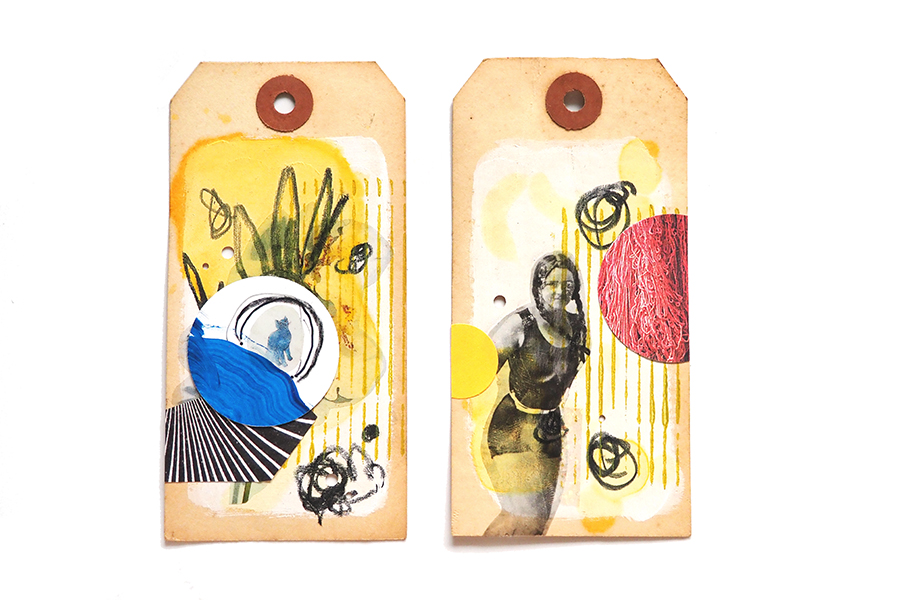
Ta-da
Beautiful ! Yellow is so cheerful. More yellow is to be welcomed on a cold, grey January morning here in the UK. I’m definitely going to do this – all I need is the turmeric! Thank you for the encouragement. Maybe I can tie it into the pages for the 100 day stitch book project. I saw an inspiring dyeing experiment where someone made a book and dyed it after it was completed. I thought that would be worth a try. I can’t remember where I saw it – oh, yes – I think it was in ‘Expressive Stitches’, Jan Dowson. What could go wrong?! Maybe I’ll do a sample or two first.